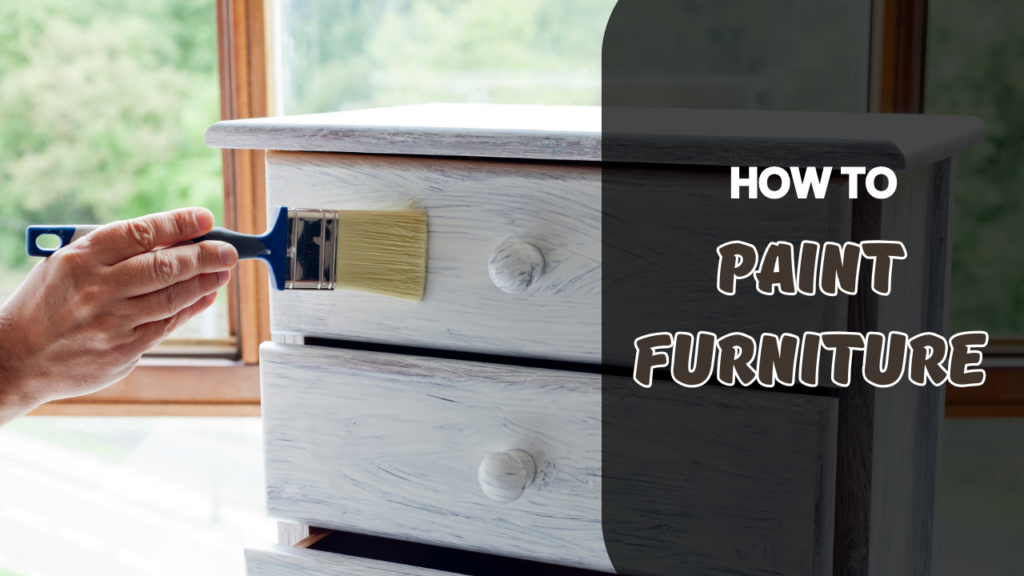
Paint Furniture to give old or worn-out pieces a fresh new look. Whether you’re upcycling an old dresser or transforming a simple table, painting furniture can be a fun and creative DIY project. If you’re unsure where to start, don’t worry! This guide will take you through the process step by step, using simple and easy-to-follow instructions.
1. Choose the Right Furniture
Not all furniture is suitable for painting, so before you begin, consider the following:
- Solid wood furniture is the best option for painting.
- Laminate or veneer surfaces can be painted, but they may require extra preparation.
- Avoid furniture with heavy damage unless you’re willing to repair it first.
2. Gather Your Materials
Before you start painting, make sure you have everything you need:
- Sandpaper (medium and fine grit)
- A damp cloth or tack cloth
- Primer (optional but recommended for better adhesion)
- Paintbrushes or a foam roller
- Paint (chalk paint, acrylic, or latex depending on your preference)
- Clear sealer or topcoat for protection
- Drop cloths or newspapers to protect your workspace
3. Prepare the Furniture
Preparation is key to a smooth and professional finish:
- Clean the furniture with a damp cloth to remove dust and dirt.
- If the piece has old paint or varnish, sand it lightly to create a smooth surface.
- Wipe away any dust with a tack cloth or a damp rag.
- Apply primer if needed, especially if painting over a dark or glossy finish.
READ MORE: How to Buy Furniture
Choose the Right Paint to Paint Furniture
Different types of paint work best for different projects:
- Chalk Paint – Great for a vintage or matte look with minimal prep work.
- Acrylic Paint – Quick-drying and durable, suitable for most furniture.
- Latex Paint – Commonly used for furniture, offering a smooth finish.
- Spray Paint – Fast and even application, ideal for small or detailed pieces.
5. Start Painting
Now comes the fun part! Follow these steps for a smooth paint job:
- Use a high-quality paintbrush or foam roller for an even finish.
- Apply thin, even coats instead of one thick coat.
- Allow each coat to dry completely before adding another.
- Lightly sand between coats for a super smooth finish.
6. Add a Protective Finish
To make your painted furniture last longer, seal it with a protective topcoat:
- Use a clear polyurethane or polycrylic sealer for durability.
- Choose a matte, satin, or glossy finish depending on your preference.
- Apply with a brush or a clean cloth, following the wood grain.
7. Let It Cure
Even though the paint may feel dry, it takes time to fully cure:
- Avoid heavy use for at least 24-48 hours.
- Give it about a week to fully harden for best durability.
8. Add Final Touches
Once your furniture is completely dry, you can add personal touches:
- Replace old knobs or handles with new ones for a fresh look.
- Use stencils or distressing techniques for a unique style.
- Decorate with cushions, runners, or accessories to complement your space.
Final Thoughts
Paint Furniture projects are one of the easiest and most budget-friendly ways to breathe new life into your home decor. Whether you’re working with an old dresser, a vintage coffee table, or a basic wooden chair, a fresh coat of paint can completely transform the look and feel of any piece. With just a little time and creativity, you can turn something outdated into a stylish statement that complements your interior design.
The process of painting furniture is not only satisfying but also highly customizable. By selecting the right type of paint—such as chalk paint for a matte, rustic finish or glossy enamel for a sleek, modern touch—you can tailor your project to suit your personal taste. Proper surface preparation, including sanding and priming, ensures better paint adhesion and a smoother finish, while applying multiple thin coats helps achieve professional-looking results.
So, if you’re looking to update your space without spending a fortune, don’t overlook the power of a DIY makeover. Paint Furniture and unlock the creative potential hiding in your old or unused pieces. Grab your brushes, set up your workspace, and let your imagination lead the way—your home (and your furniture) will thank you for it!


